PanoLite 1.0: Official User Guide
Welcome to the PanoLite User Manual. PanoLite is designed to be the fastest, most private way to build interactive 360° virtual tours right in your browser. Because it runs entirely on your local machine without uploading anything to a server, the workflow is a little different from traditional cloud-based builders.
Here is everything you need to know to build your first tour.
1. Preparing and Loading Images
PanoLite accepts standard equirectangular JPEGs (the standard 2:1 aspect ratio spherical photos produced by 360 cameras or stitched from DSLR rigs).
To add a scene, click the blue 📷 Add JPEG Scene button. You can add as many scenes as your computer's memory can handle, but keep the following in mind:
- Resolution Limits: PanoLite can work with large panorama images, but it doesn't turn your equirects into tiles for 'lazy loading.' For the best balance of crisp quality and fast performance, I recommend resizing your panoramas to around 8000 pixels wide before loading them. WebGL (the graphics engine used by modern browsers) has a strict maximum texture size of 8192 x 8192 pixels.
- Memory Constraints: Because PanoLite doesn't upload your files to a server, it holds your high-resolution images in your browser's active RAM. Loading dozens of massive, unoptimized files may cause mobile browsers or older laptops to struggle.
2. Scene-Specific Settings
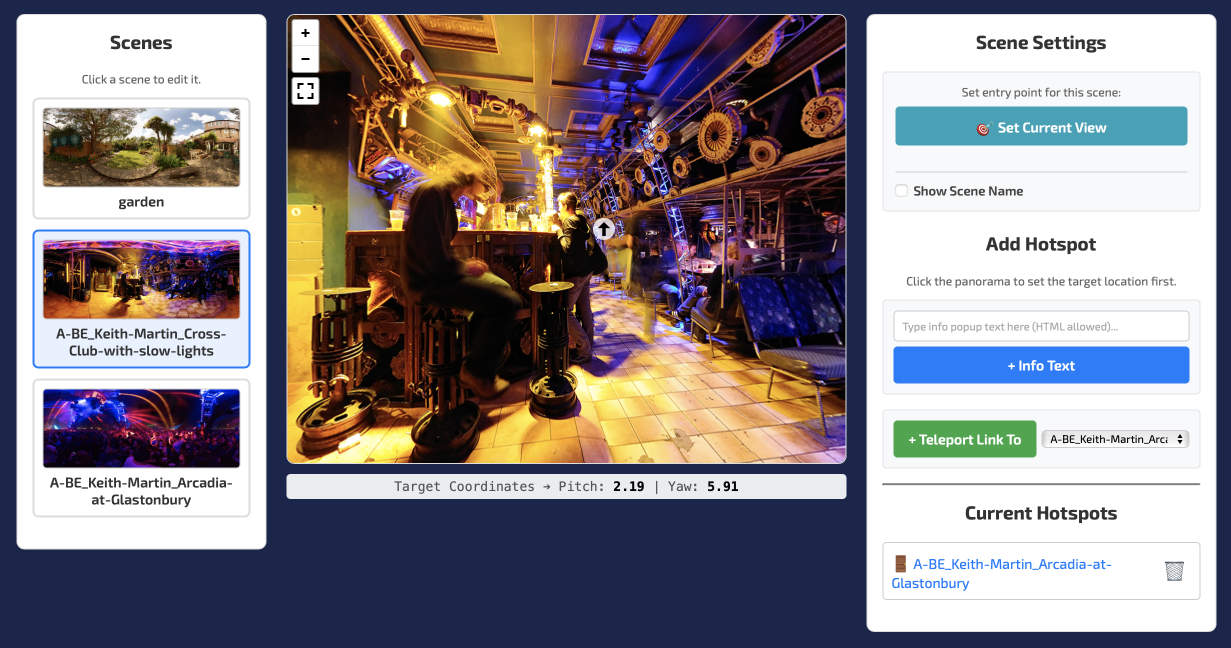
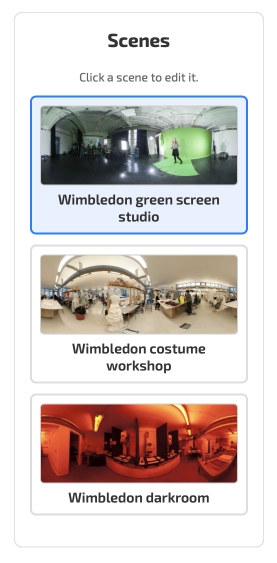
Once your images are loaded, click any scene in the left-hand Scenes list to begin editing it.
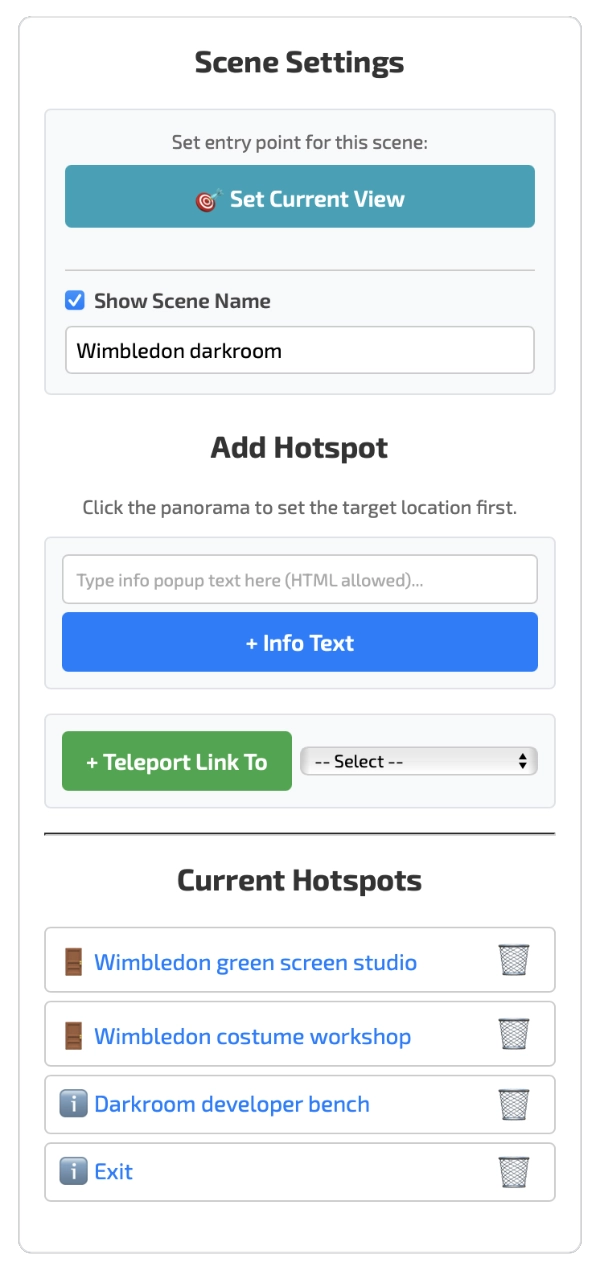
Setting the Entry View
By default, a scene will open looking at the exact horizontal center of your image file. To change this, click and drag the panorama to your preferred starting angle, then click 🎯 Set Current View.
Pro Tip: If you have a doorway hotspot linking back to this room, setting the view ensures the user is facing the correct direction when they walk through the door.
Naming Your Scenes
To display a label at the bottom of the screen while viewing a room, check the Show Scene Name box. By default, it will display the original file name, but you can type a custom name into the text box below it. The label updates instantly in the preview.
Adding Info Hotspots
Info hotspots display a popup tooltip when hovered over or clicked.
- Type your text into the input box.
- Click the blue + Info Text button.
- Click anywhere on the panorama to place the icon.
Developer Tip: The info text box supports raw HTML! You can use <b>bold</b> tags, insert <a href="..."> links, or even embed <img src="..."> tags to show standard flat photos inside your 360 tour.
Adding Teleport Links (Doors)
To link rooms together:
- Select your destination room from the dropdown menu.
- Click the green + Teleport Link To button.
- Click the panorama (e.g., on a physical doorway or path) to place the link.
Removing Hotspots
Made a mistake? Look at the Current Hotspots list in the right-hand panel. Click the red 🗑️ Trash icon next to any hotspot to instantly remove it from the scene.
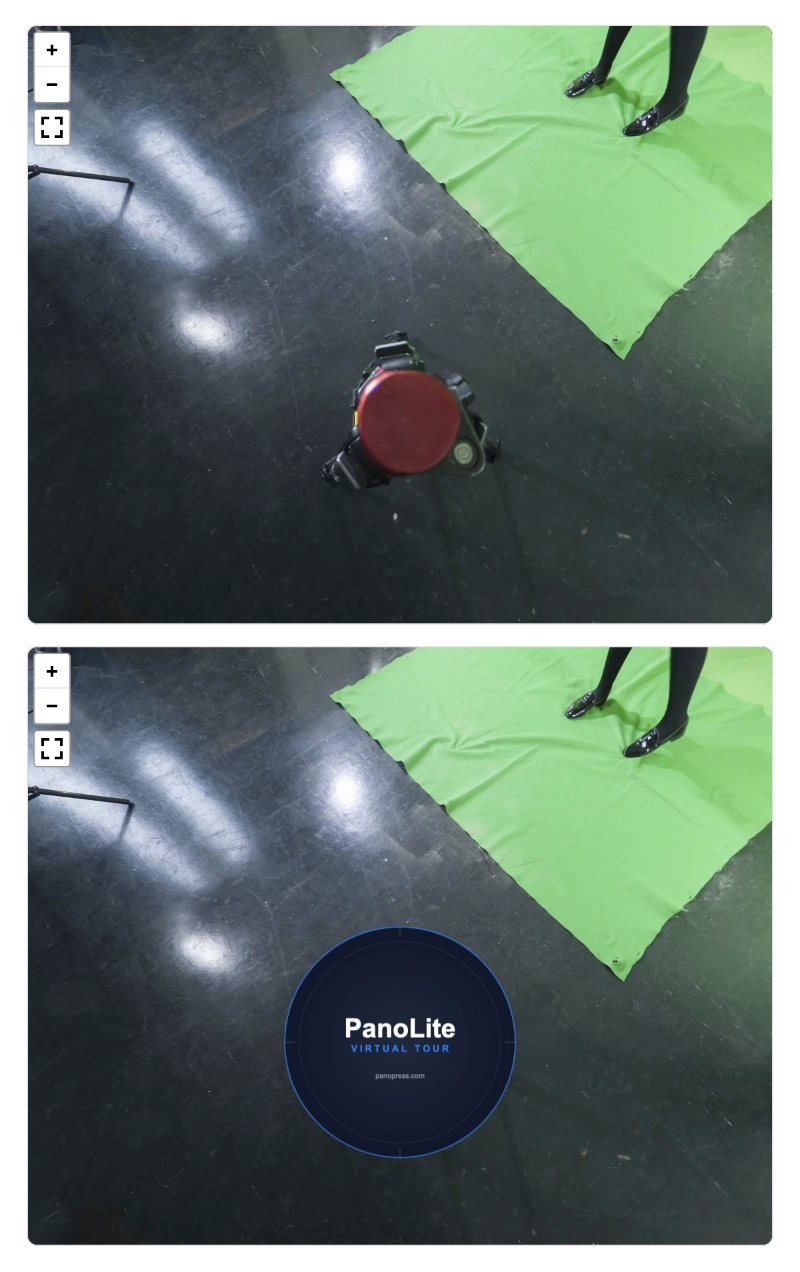
3. Global Tour Settings: The Nadir Cap
The "Nadir" is the very bottom of your 360° photo (-90° pitch), where your tripod or camera monopod may be visible. PanoLite allows you to easily cover this up across your entire tour.
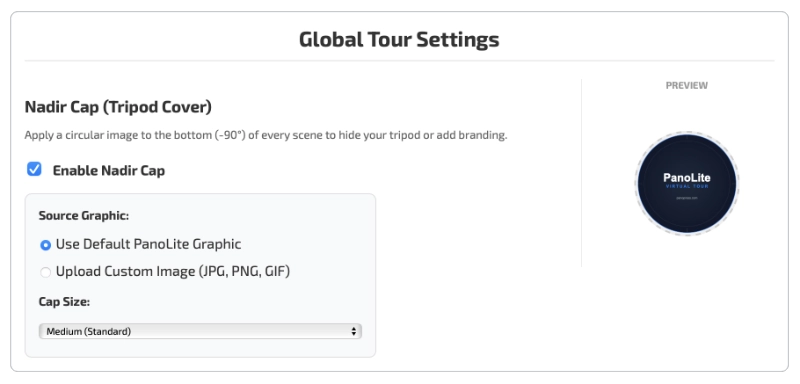
- Enable Nadir Cap: Check this box to place a circular graphic at the bottom of every scene.
- Source Graphic: You can use the built-in PanoLite graphic, or select Upload Custom Image to use your own (great for agency branding or client logos). The graphic will be displayed cropped to a circle automatically, and it will always face the viewer the right way up.
- Cap Size: Use the dropdown to scale the graphic to Small, Medium, or Large, depending on how much of the floor you need to hide.
4. Exporting Your Tour
Because PanoLite processes everything locally, closing your browser tab will delete your progress. When you are finished, scroll to the bottom of the builder and choose one of the two export options.
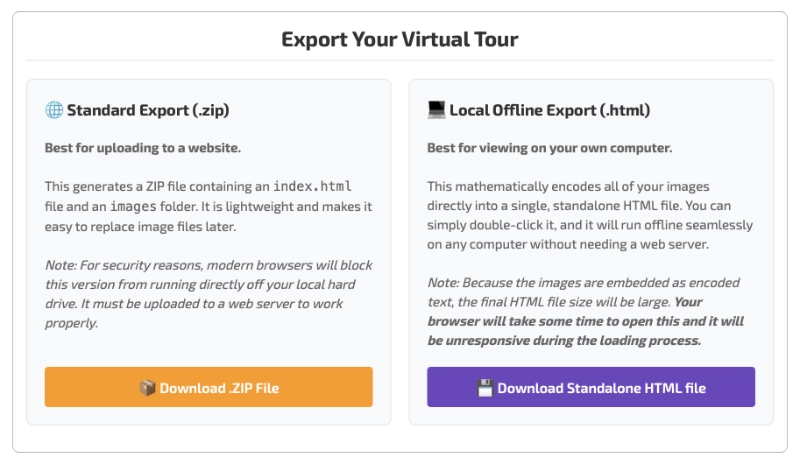
Option A: Standard Export (.ZIP)
Best for: Uploading to your own website or web host.
How it works: This downloads a lightweight ZIP folder containing an index.html file and an images folder.
The Quirk: For security reasons, modern web browsers will block this file from running if you just double-click it on your desktop (this is known as a CORS restriction). It must be uploaded to a web server to work.
Option B: Local Offline Export (.HTML)
Best for: Sending to clients via email/USB, portfolios, or running on offline iPads and kiosk displays.
How it works: This mathematically encodes all of your panoramas into text and embeds them directly into a single, standalone HTML file. You don't need an internet connection or a web server—just double-click it to view your tour.
The Quirk: Because the images are embedded as code, the final file size will be massive (often 50MB+). When you double click it to open it on your desktop, your browser may take a little while to load the file into memory before the tour appears. Be patient.
5. Advanced: Re-Editing Exported Tours
PanoLite is designed as a rapid-prototyping tool. Currently, there is no "Import Project" button to load a previously exported tour back into the visual builder interface.
However, PanoLite is powered by the open-source Pannellum engine. If you export the standard .ZIP file, you can open the index.html file in any basic code editor (like Notepad, TextEdit, or VS Code) and easily edit the code yourself! The configuration is written in plain, human-readable JSON near the bottom of the file. This allows you to manually tweak coordinates, change hotspot text, or swap out images long after you've exported the tour. (You can also edit the single HTML file export, but the base64-encoded image data will make this more fiddly.